
Why Firebase is a Game-Changer for Flutter Developers
For developers aiming to build powerful, scalable applications with impressive speed, the combination of Flutter and Firebase is nothing short of revolutionary. Flutter, Google’s UI toolkit, allows for the creation of natively compiled applications for mobile, web, and desktop from a single codebase. Firebase, also a Google product, is a comprehensive Backend-as-a-Service (BaaS) platform that handles the server-side complexities so you can focus on creating an amazing user experience. This dynamic duo significantly reduces development time and resources. Instead of building your own backend infrastructure for features like user authentication, databases, file storage, and analytics, you can simply plug into Firebase’s robust, managed services. The BaaS market is expanding rapidly, with a 2023 report from MarketsandMarkets projecting its growth to USD 28.1 billion by 2028, a testament to the efficiency it brings to projects. By integrating Firebase, you empower your Flutter app with a secure, scalable, and real-time backend, transforming a simple frontend application into a full-stack powerhouse.
Setting Up Your Firebase Project
Getting started is a straightforward process that begins in the Firebase console. This initial setup establishes the connection between your application and the suite of services you intend to use. It’s a foundational step that every developer must complete before writing a single line of integration code.
Creating the Firebase Project
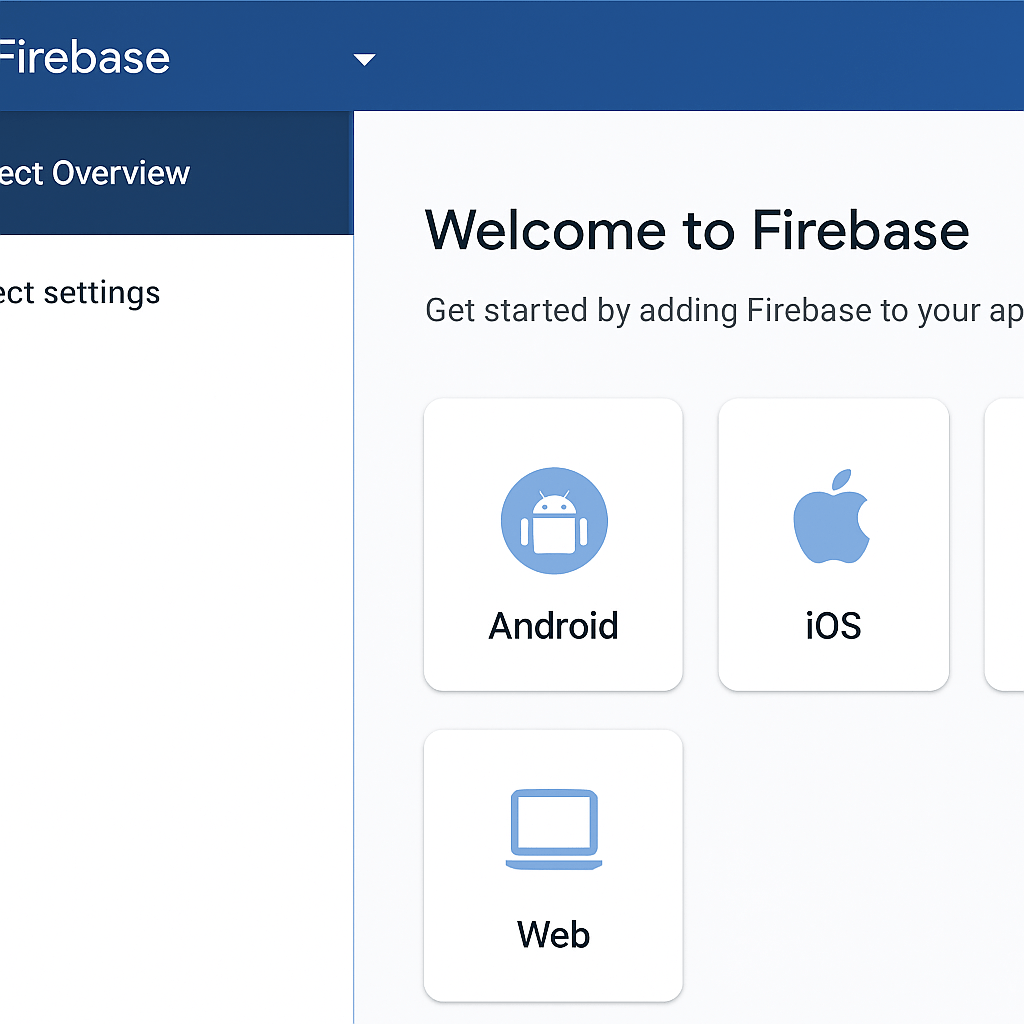
First, navigate to the Firebase console and sign in with your Google account. You’ll see an option to “Add project.” Clicking this will launch a simple, three-step wizard. You will be prompted to enter a name for your project, which should be unique and descriptive. Next, you can choose whether to enable Google Analytics for your project. We highly recommend keeping this enabled, as it provides invaluable insights into user engagement and app performance right out of the box. Once you’ve confirmed these settings, Firebase will provision your project, which typically takes less than a minute. You’ll then be redirected to your new project’s dashboard, the central hub for managing all your Firebase services.
Registering Your Flutter App
With your project ready, you need to tell Firebase about the specific application that will be connecting to it. On the project dashboard, you will see icons for different platforms: iOS, Android, Web, and Unity. You’ll need to register each platform your Flutter app will support. For Android, you’ll need to provide your app’s package name, which can be found in your android/app/build.gradle file under the applicationId field. For iOS, you’ll provide the iOS bundle ID from your Xcode project settings. After providing this information, Firebase will generate configuration files for you: google-services.json for Android and GoogleService-Info.plist for iOS. Download these files, as you’ll need them in the next stage of the integration.
Integrating the Firebase SDK into Your Flutter App
Now it’s time to bring Firebase into your Flutter codebase. This involves adding the necessary software development kits (SDKs) to your project and initializing the connection when your app starts.
Adding Dependencies
Flutter manages packages through the pubspec.yaml file, located in your project’s root directory. The most critical package is firebase_core, which enables the core functionality and connection to your Firebase project. You will also add packages for the specific Firebase services you want to use, such as cloud_firestore for the database or firebase_auth for user authentication. You can find all the officially supported plugins on the pub.dev repository. After adding the package names and versions to your pubspec.yaml file, run the flutter pub get command in your terminal to download and install them into your project.
Initializing Firebase
Before you can make any calls to Firebase services, you must initialize the connection. This is typically done in your main.dart file before you run the application. The initialization process is asynchronous, so your main function will need to be marked with the async keyword. You must call WidgetsFlutterBinding.ensureInitialized() to ensure the Flutter engine is ready, followed by await Firebase.initializeApp(). This single line of code uses the configuration files you downloaded earlier to establish a secure connection to your Firebase backend. This setup is a foundational step in our comprehensive Flutter learning path.
Platform-Specific Configuration
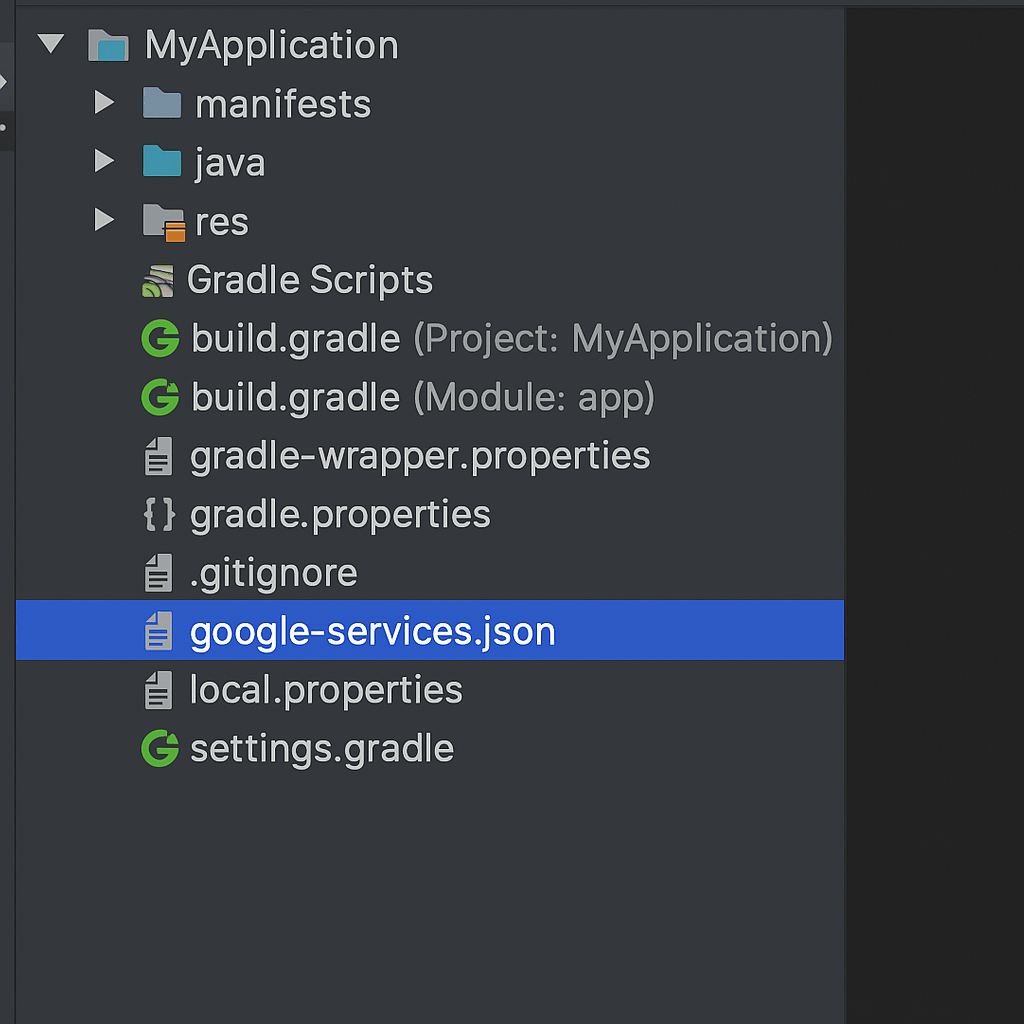
The final step is placing the platform-specific configuration files in the correct locations within your Flutter project. For Android, place the google-services.json file inside the android/app/ directory. You will also need to apply the Google Services Gradle plugin by making small modifications to your android/build.gradle and android/app/build.gradle files. For iOS, the process involves opening your project’s ios folder in Xcode and dragging the GoogleService-Info.plist file into the Runner subfolder, ensuring it’s added to the Runner target.
| Platform | Configuration File | Location |
|---|---|---|
| Android | google-services.json |
android/app/ |
| iOS | GoogleService-Info.plist |
ios/Runner/ |
A Practical Example: Implementing Firebase Authentication
Let’s make this tangible with a common use case: user sign-up. Firebase Authentication provides a secure and easy-to-implement solution for managing users. After adding the firebase_auth dependency, you can create a function that handles new user registration with just a few lines of code. You can create an instance of FirebaseAuth and call the createUserWithEmailAndPassword method, passing the user’s desired email and password. This method returns a Future containing user credentials upon success or throws an exception if the email is already in use or the password is too weak. This simple yet powerful feature is a cornerstone for building personalized app experiences.
Firebase Authentication Documentation
Leveraging Other Firebase Services
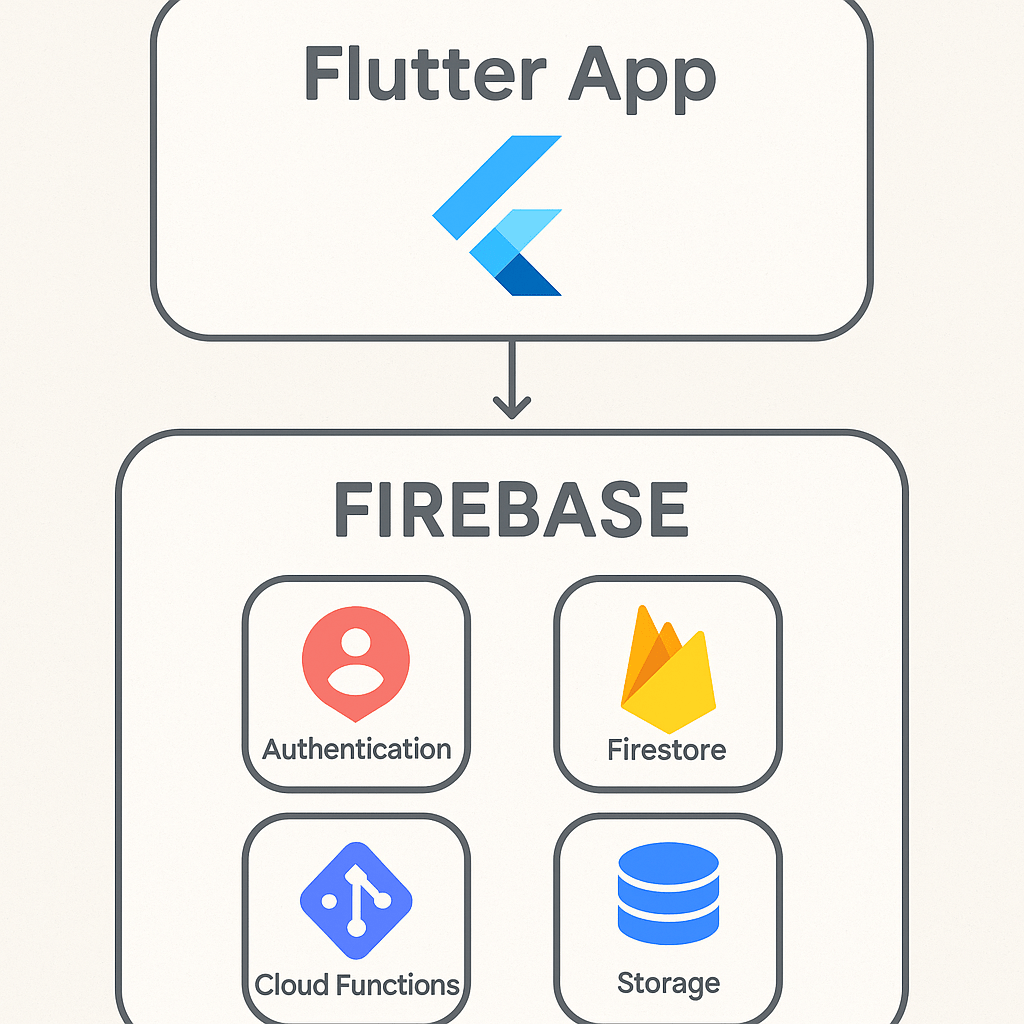
Authentication is just the beginning. The true power of this integration comes from combining multiple services. Cloud Firestore is a flexible, scalable NoSQL cloud database that allows for real-time data synchronization. Storing and retrieving data is as simple as referencing a collection and calling add() or get() methods. For user-generated content like profile pictures or videos, Cloud Storage provides robust and secure file storage. When you need custom backend logic, like processing a payment or sending a welcome email after a user signs up, Cloud Functions lets you run serverless code in response to events triggered by Firebase features. Managing data from Firebase often requires you to dive deeper into Flutter state management.
In-depth guide to Cloud Firestore
| Feature | Cloud Firestore | Realtime Database |
|---|---|---|
| Data Model | Collections & Documents | JSON Tree |
| Queries | Compound, complex | Deep, limited sorting/filtering |
| Scalability | Automatic multi-region | Zonal, requires sharding |
| Offline Support | Advanced (Android, iOS) | Basic (Android, iOS) |
Best Practices and Next Steps
As you build out your application, it’s crucial to implement security rules for both Firestore and Cloud Storage. These rules live on the Firebase servers and define who has read or write access to your data, protecting it from unauthorized use. Additionally, familiarize yourself with the Firebase Pricing Page to understand the generous free tier and the pay-as-you-go model, allowing you to manage costs effectively as your app grows. With Firebase fully integrated, you are now equipped to build scalable, feature-rich applications that can delight users and compete in today’s market. To take your UI to the next level, why not explore advanced Flutter animations?
Leave a Reply