- A. The New Frontier of Local Search: Why AI is No Longer Optional
- B. AI-Powered Tools for Hyperlocal Keyword Research and Content Strategy
- C. Automating and Optimizing Your Google Business Profile with AI
- D. Advanced Local SEO Tactics Fueled by Artificial Intelligence
- E. Choosing the Right AI Tools and Integrating Them into Your Strategy
The New Frontier of Local Search: Why AI is No Longer Optional
The digital landscape for local businesses has transformed dramatically from the days of simple yellow page directories to today’s intricate, intent-driven ecosystem. Consumers no longer just search for a business name; they ask complex questions, seek immediate solutions, and expect hyper-relevant results tailored to their exact location and needs. For a local enterprise, whether a boutique cafe in Miami’s Design District or a specialized dental clinic in Coral Gables, standing out in this crowded digital space is a monumental challenge. Google’s algorithm is in a constant state of flux, and the competition for visibility in the local map pack and organic search results is fiercer than ever. This relentless pace of change and the sheer volume of data involved in modern search engine optimization have pushed manual strategies to their absolute limit. Businesses find themselves struggling to keep up, often guessing at what works and reacting to ranking drops rather than proactively shaping their digital presence. This is precisely where the paradigm shifts. Artificial intelligence is no longer a futuristic concept discussed in tech circles; it has become the indispensable co-pilot for any serious local SEO strategy. AI provides the computational power to process immense datasets, identify subtle patterns in consumer behavior, automate time-consuming and repetitive tasks, and deliver predictive insights that were once impossible to obtain. It is the force multiplier that allows businesses to move from a reactive to a proactive stance, anticipating market trends and customer needs before they even fully form. According to a 2023 consumer survey from BrightLocal, a staggering 87% of consumers used Google to evaluate local businesses, a clear indicator that the digital storefront is now more critical than the physical one. In this environment, leveraging AI isn’t just about gaining a competitive edge; it’s about survival and relevance. It’s about ensuring that when a potential customer searches for a service you provide in your area, your business is the one that Google trusts and presents as the most authoritative and relevant answer.
At Lucid Site Designs, we recognize that embracing this technological evolution is fundamental to our clients’ success. The core value of AI in local SEO lies in its ability to augment human expertise, not replace it. It handles the heavy lifting of data analysis and task automation, freeing up strategic minds to focus on what truly matters: understanding the unique character of a local market, crafting a compelling brand narrative, and building genuine customer relationships. An AI can analyze thousands of competitor reviews to identify common service complaints, but it takes a human strategist to turn that insight into an improved operational workflow and a marketing campaign that highlights superior service. An AI can generate a list of locally relevant keywords, but it requires an experienced SEO professional to weave those keywords into a content strategy that resonates with the local community’s values and culture. This synergy between machine intelligence and human ingenuity is the new frontier of digital marketing. By integrating sophisticated AI tools into a holistic strategy, we empower local businesses to not only compete but to dominate their specific geographic markets, transforming complex data into tangible, real-world growth and a stronger connection with the communities they serve. This approach ensures that technology serves the ultimate goal: driving more foot traffic, more phone calls, and more revenue.
AI-Powered Tools for Hyperlocal Keyword Research and Content Strategy
The foundation of any successful SEO campaign, especially at the local level, is a deep and nuanced understanding of what potential customers are searching for. Historically, this involved brainstorming seed keywords, using basic tools to find variations, and analyzing search volume. This approach, however, often misses the most critical element: searcher intent. A person searching “pizza Miami” has a different need than someone searching “best deep-dish pizza delivery Brickell.” The latter is a high-intent, commercially valuable query that traditional methods might overlook. Artificial intelligence completely revolutionizes this process by shifting the focus from keywords as simple strings of text to keywords as representations of complex human needs. AI-driven platforms are capable of analyzing not just search volume but the entire search engine results page (SERP) landscape, including the types of content that rank, the questions people also ask, and the semantic relationships between different topics. This allows for the discovery of hyperlocal search intent with a precision that was previously unattainable.
Uncovering Hyperlocal Search Intent
AI-powered tools like Semrush and Surfer SEO have moved far beyond simple keyword suggestion. They employ sophisticated machine learning models to deconstruct the top-ranking content for any given local search query. Instead of just giving you a list of keywords, they provide comprehensive topic clusters and identify latent semantic indexing (LSI) keywords that Google’s algorithm associates with a particular topic in a specific geographic context. For instance, for a local roofer in an area prone to hurricanes, an AI tool would not only suggest “roof repair Miami” but also related terms like “hurricane-proof roofing,” “tile roof leak repair South Florida,” and “post-storm roof inspection.” It understands the contextual nuances of the location and connects them to the core service. This allows businesses to create content that comprehensively answers the user’s primary question as well as all their follow-up questions, establishing deep topical authority. The true power of this approach is its ability to uncover long-tail keywords that are low in competition but exceptionally high in conversion potential. An AI can generate hundreds of variations like “emergency AC repair near me on a weekend” or “affordable family photographer in Coconut Grove,” queries that signal urgent need and a readiness to purchase. By targeting these highly specific phrases, a local business can attract the most qualified leads and bypass the intense competition for broader, more generic terms.
Generating Geographically-Relevant Content at Scale
One of the most significant challenges for businesses serving multiple locations or a wide service area is creating unique, high-quality content for each specific neighborhood or city. Producing generic content and simply swapping out the city name is an outdated practice that search engines can easily detect, and it offers little value to the reader. This is where AI content generation tools, such as Jasper or Copy.ai, can serve as powerful assistants. It is crucial, however, to approach these tools with the right mindset. They are not a magic button for creating finished, perfect content; rather, they are incredibly efficient drafting tools. An effective workflow involves using AI as a starting point. For example, a plumbing company serving all of Miami-Dade County could use an AI to generate a unique first draft for a landing page for each key suburb like Aventura, Doral, and Key Biscayne. The prompt given to the AI would include specific details about common plumbing issues in that area, local landmarks, and the company’s unique selling propositions. The AI can then produce a structured, well-written draft in minutes. The next, and most critical, step is for a human expert to take over. This is where the team at Lucid Site Designs adds immense value. We refine the AI-generated draft, fact-check all information, inject the brand’s unique voice and personality, and add authentic local flavor that a machine could never replicate. This hybrid approach allows for the creation of geographically-relevant content at a scale and speed that would be impossible manually, ensuring that every potential customer feels that the content is speaking directly to them and their community. This process is a vital component of a larger Web Marketing strategy, ensuring that every digital touchpoint is both efficient and effective.
Automating and Optimizing Your Google Business Profile with AI
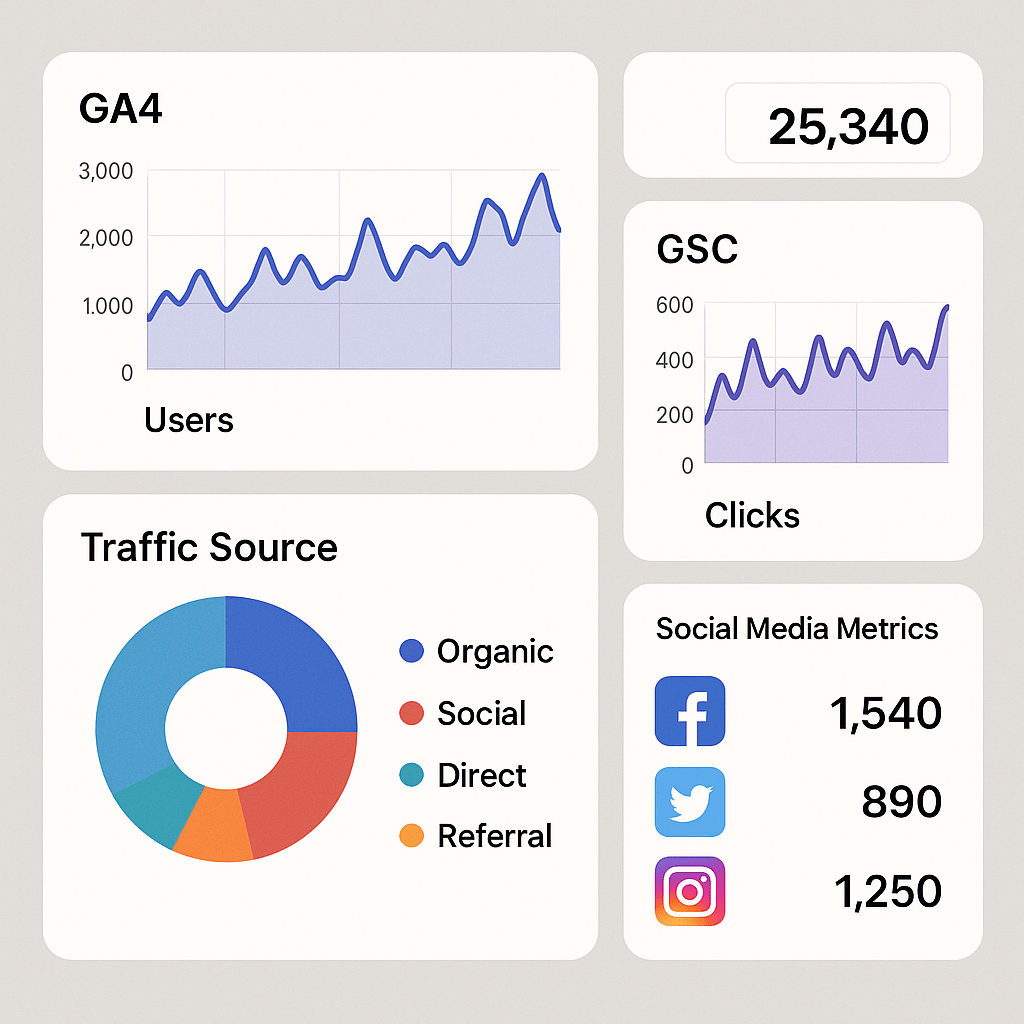
Your Google Business Profile (GBP) is, without a doubt, the single most important asset in your local SEO arsenal. It’s your digital storefront, your virtual billboard, and often the very first interaction a potential customer has with your brand. A well-optimized and active GBP can dramatically increase your visibility in the coveted Google Map Pack, drive phone calls, and provide directions directly to your door. However, managing it effectively requires consistent effort: posting regular updates, responding to every review, and answering customer questions promptly. For a busy business owner, these tasks can easily fall by the wayside. Artificial intelligence offers a powerful solution by automating many of the most time-consuming aspects of GBP management, allowing you to maintain a dynamic and engaging profile with a fraction of the manual effort. This ensures your profile remains fresh and relevant in the eyes of both Google’s algorithm and your potential customers.
AI for GBP Post and Q&A Management
Consistency is key when it comes to Google Business Profile. Google’s algorithm tends to favor profiles that are actively managed, signaling that the business is open and engaged with its community. AI-powered platforms such as Surge Social or Local Viking can streamline this process significantly. These tools can use AI to help generate and schedule a steady stream of GBP posts. You can set parameters based on promotions, events, or blog updates, and the AI can create compelling copy and even suggest relevant imagery, ensuring your profile never looks stale. This consistent activity can directly impact your local rankings and customer engagement rates. Furthermore, the Q&A section of your GBP is a goldmine of customer insight and an opportunity to proactively address common concerns. AI can analyze the Q&A sections of your top local competitors to identify frequently asked questions within your industry and region. It can then help you build out a comprehensive list of questions and expertly crafted answers for your own profile. By proactively providing this information, you not only help potential customers but also demonstrate your expertise and authority, building trust before they even contact you. AI can also assist in monitoring new questions as they come in, ensuring you can provide a timely and accurate response, which is another positive signal to Google.
Mastering Local Reviews with AI-Assisted Responses
Online reviews are the lifeblood of a local business, serving as powerful social proof that directly influences purchasing decisions. Responding to every review—both positive and negative—is not just good customer service; it’s a critical local ranking factor. However, crafting unique, thoughtful responses to dozens or even hundreds of reviews can be an exhausting task. This is where AI-assisted response generation comes into play. Platforms like BrightLocal and Podium are integrating AI features that can analyze the content and sentiment of a customer review and generate a relevant, well-structured draft response. For a positive review, the AI might draft a response that thanks the customer by name, mentions the specific service they enjoyed, and invites them back. For a negative review, it can generate a professional and empathetic response that acknowledges the customer’s concerns, apologizes for their experience, and provides a clear path to resolution. The key here is that these are drafts. The most effective strategy involves using the AI-generated text as a starting point and then having a human quickly personalize it. This “human-in-the-loop” approach saves an enormous amount of time while ensuring that every response is authentic and on-brand. According to a 2023 report from ReviewTrackers, businesses that actively respond to their online reviews can earn up to 49% more revenue than those that don’t, highlighting the immense financial impact of a well-managed review strategy powered by the efficiency of AI.
Advanced Local SEO Tactics Fueled by Artificial Intelligence
Beyond the foundational elements of keyword research and Google Business Profile management, artificial intelligence is unlocking new, more sophisticated tactics that can provide a significant competitive advantage in the local search arena. These advanced applications involve using AI to analyze complex data sets and automate high-level strategic tasks that are either too complex or too time-consuming for humans to perform effectively. From discovering hidden link-building opportunities to predicting ranking fluctuations before they happen, AI is empowering SEO professionals to operate with a level of precision and foresight that was previously unimaginable. This is where a partnership with a tech-forward agency like Lucid Site Designs becomes invaluable, as we leverage these cutting-edge tools to build more resilient and proactive local SEO campaigns.
AI-Driven Local Link Building and Citation Management
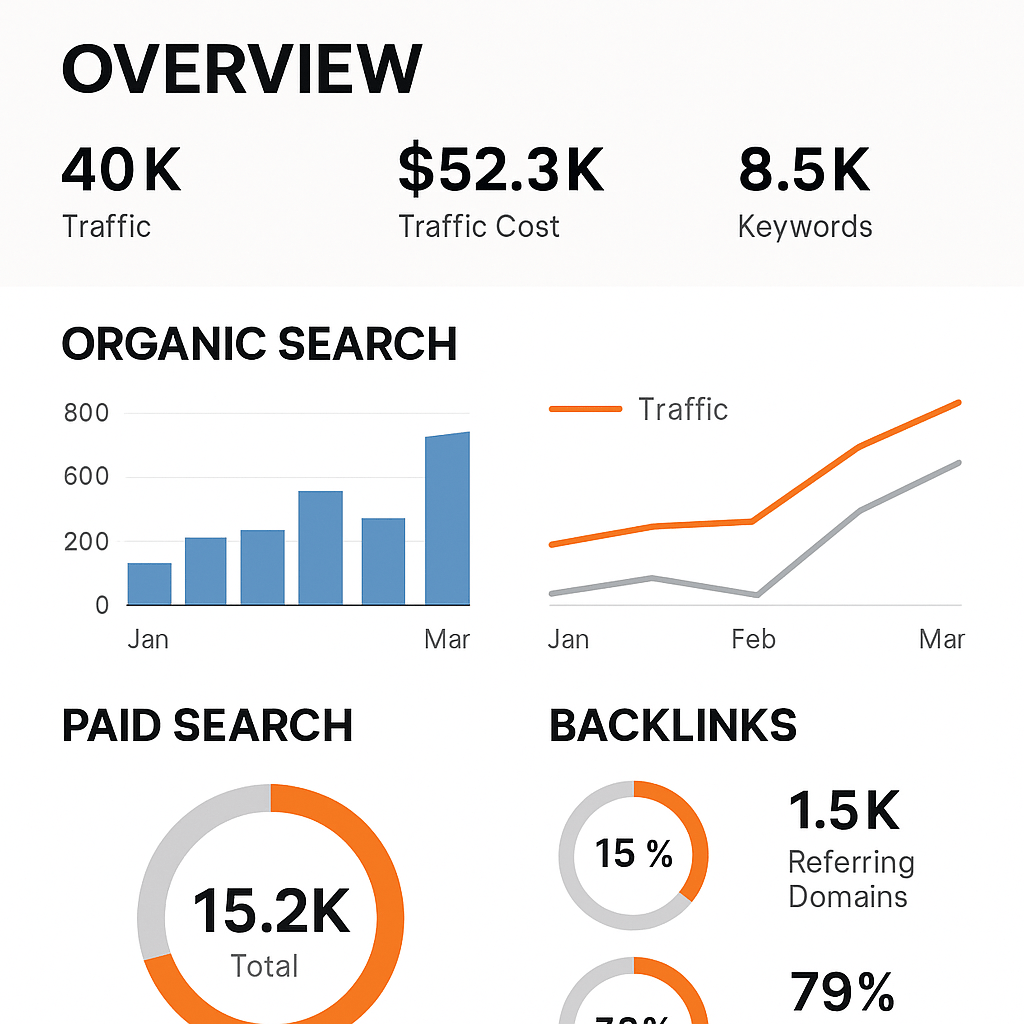
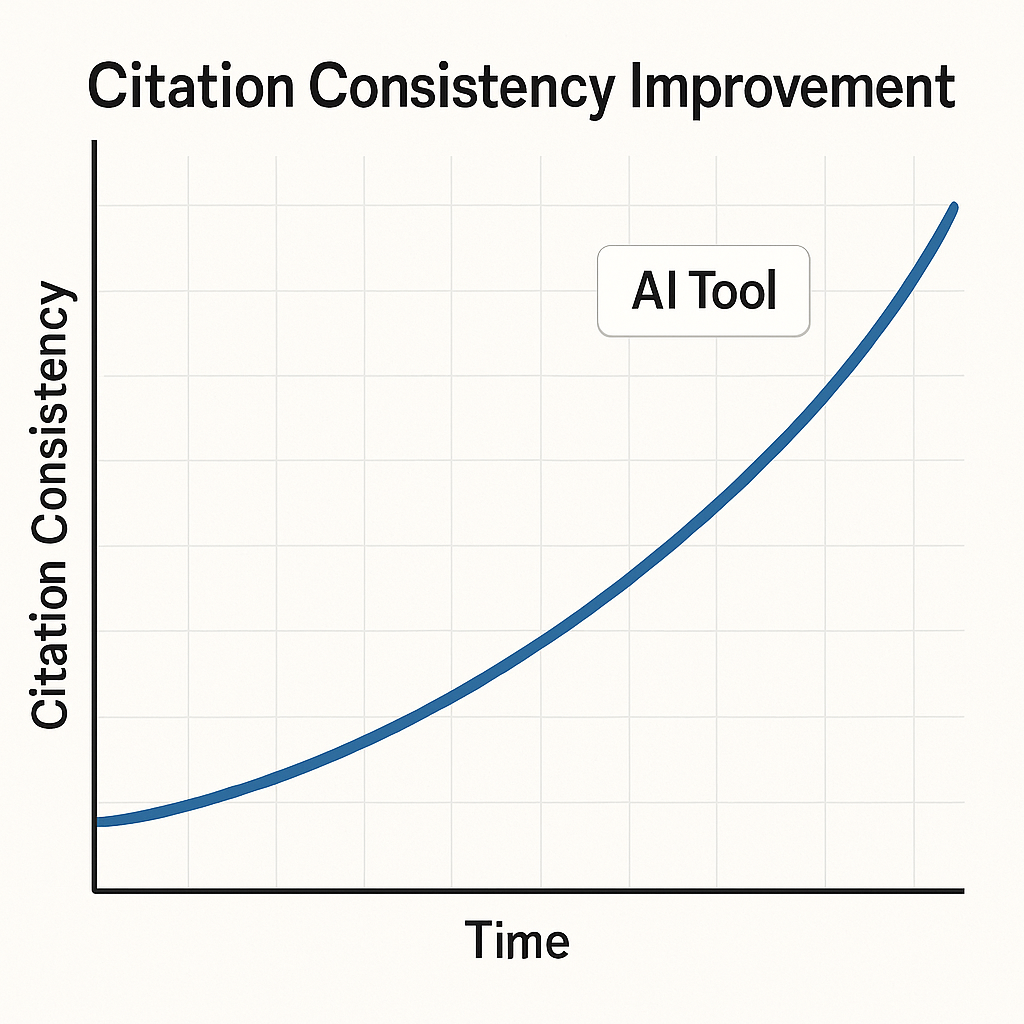
Backlinks and citations remain critical ranking signals for local businesses. A backlink from a well-respected local blog, news outlet, or community organization sends a powerful signal of trust and relevance to Google. Similarly, consistent citations (your business name, address, and phone number, or NAP) across a wide range of online directories build authority and confirm your location. The manual process of finding these opportunities and ensuring citation consistency is painstaking. AI radically streamlines this. AI-powered tools can perform a deep analysis of the backlink profiles of all the top-ranking local competitors. They can identify the exact local blogs, event sponsorship pages, and community sites that are linking to your competitors and flag them as high-priority targets for your own outreach efforts. Furthermore, AI can scrape the web for unlinked brand mentions or hyperlocal content that would be a perfect fit for a backlink, uncovering opportunities that a human would likely miss. When it comes to citations, consistency is paramount. A simple typo in your street name on one directory can create confusion for search engines and harm your rankings. AI-driven platforms like Yext or Moz Local use advanced technology to scan hundreds of directories simultaneously, identifying any inconsistencies in your NAP data. They can then automate the correction process, ensuring your business information is accurate everywhere it appears online. For a deeper dive into effective strategies, Moz offers an excellent guide on local link building. This level of automation and precision is simply not achievable through manual effort.
| Feature | Traditional Rank Tracking | AI-Powered Predictive Rank Tracking |
|---|---|---|
| Data Focus | Historical keyword positions (e.g., “was #3, now #5”) | Future position forecasts based on multiple variables |
| Analysis | Reactive; identifies drops after they occur | Proactive; flags potential drops before they happen |
| Insights | Basic up/down movement and competitor positions | Correlates ranking changes with SERP feature updates, competitor content velocity, and seasonality |
| Strategy | Adjust strategy based on past performance | Adjust strategy based on predicted outcomes and opportunities |
| Value | Good for reporting on what happened | Essential for shaping what will happen |
Predictive Analytics for Local Rank Tracking
Traditional rank tracking tells you where you stood yesterday. AI-powered predictive analytics, on the other hand, tells you where you are likely to stand tomorrow. This is a game-changing shift from a reactive to a proactive SEO posture. Advanced platforms like STAT or Nozzle don’t just record your daily ranking for a list of keywords. They ingest a massive amount of data, including your historical ranking data, all your competitors’ movements, changes in Google’s SERP features (like the appearance of new image packs or “People Also Ask” boxes), and even external factors like local seasonality or major events. A sophisticated machine learning model then analyzes all these variables to identify patterns and correlations that precede ranking changes. For example, the AI might detect that whenever a specific competitor publishes a new blog post of a certain length and gains two specific types of backlinks, their ranking for a key term tends to jump three positions within ten days. Armed with this predictive insight, you can preemptively strengthen your own page for that term, mitigating the potential drop or even capitalizing on the opportunity. This allows for a much more agile and intelligent allocation of resources, focusing your efforts on the areas that are predicted to have the greatest impact on your future visibility.
Choosing the Right AI Tools and Integrating Them into Your Strategy
The market for SEO software is now flooded with tools that claim to use artificial intelligence, and it can be daunting for a business owner to determine which ones are genuinely effective and which are simply capitalizing on buzzwords. Selecting the right tools and, more importantly, integrating them into a cohesive strategy is crucial for achieving a positive return on investment. A powerful tool is useless without a clear plan for how its capabilities will be used to achieve specific business goals. The most successful approach involves a careful evaluation process followed by the seamless integration of technology into a workflow that is still guided by human expertise and strategic oversight.
A Framework for Evaluating Local SEO AI Tools
Before investing in any AI-powered platform, it’s essential to evaluate it against a set of core criteria to ensure it aligns with your business needs. First, consider data accuracy and sources: where does the AI get its information? For local SEO, data should be pulled from reliable sources and be geographically precise. Second, evaluate integration capabilities: does the tool connect smoothly with your existing marketing stack, such as Google Analytics, Google Search Console, and your Google Business Profile? Seamless integration prevents data silos and provides a more holistic view of your performance. Third, assess usability and workflow: is the interface intuitive, or does it require a steep learning curve? The best tools are designed to simplify complex processes, not complicate them. Fourth, think about scalability: can the tool support your business as it grows, whether that means adding new locations or expanding your service offerings? Finally, look into the available support and training. A good software provider will offer robust customer support, tutorials, and resources to help you get the most out of their platform.

| AI-Powered Task | Human Expert’s Role |
|---|---|
| Generates a first draft of a location-specific landing page. | Refines copy, injects brand voice, adds local nuance, and fact-checks information. |
| Identifies a list of semantically related hyperlocal keywords. | Selects the highest-intent keywords and builds a content strategy around them. |
| Drafts responses to online customer reviews. | Personalizes and approves each response to ensure authenticity and empathy. |
| Discovers a potential local backlink opportunity. | Conducts personalized outreach and builds a genuine relationship with the site owner. |
| Provides predictive data on potential ranking drops. | Interprets the data and formulates a proactive strategy to mitigate the risk. |
The Human Element: Why AI is a Co-pilot, Not the Pilot
It is essential to re-emphasize the most critical point in this entire discussion: AI is a co-pilot, not the pilot. Artificial intelligence excels at processing data, identifying patterns, and automating tasks at a scale humans cannot match. However, it lacks genuine creativity, strategic intuition, and a true understanding of local market culture and nuance. This is where the partnership with an expert agency like Lucid Site Designs creates an unbeatable combination. We use AI to gather the intelligence and create efficiencies, but our human experts interpret that intelligence to build the overarching strategy. An AI can tell you what topics are trending in your area, but a human strategist can tell you why and how to create content that authentically connects with that trend. While AI can significantly enhance paid advertising campaigns, it is the strategic oversight from a dedicated team providing Google Adwords Marketing Services that ensures your budget is spent effectively to capture high-intent local customers. For businesses located in our home region, partnering with a specialized Miami SEO Company provides the ultimate advantage, combining cutting-edge technology with an indispensable, on-the-ground understanding of the South Florida market.
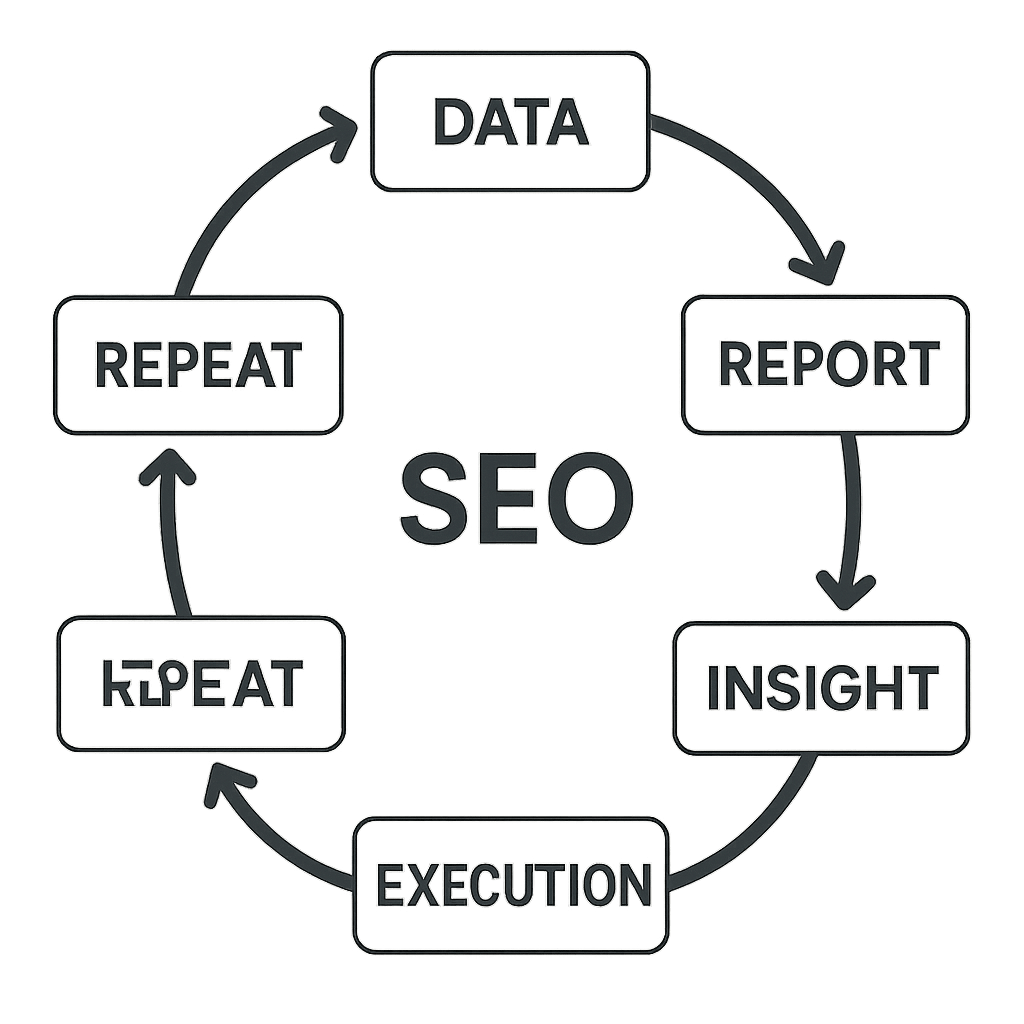
The future of local SEO is not a battle of humans versus machines. It is a collaborative dance where technology provides the power and data, and human experts provide the wisdom, strategy, and creative spark. By embracing this synergy, your local business can move beyond simply competing online and begin to truly dominate your digital neighborhood. If you’re ready to explore how a tailored, AI-enhanced local SEO strategy can transform your business, we invite you to connect with our team of experts. Let’s build a plan that leverages the best of technology and human ingenuity to drive measurable, lasting results for your brand.
Word Count: 2362