Prerequisites for MySQL Installation
Before diving into the installation process, it’s essential to ensure your system is ready. You will need a computer running Windows 10 or a later version, and crucially, you must have administrator privileges to run the installer and configure the Windows service. We will be using the official MySQL Installer, which is the recommended method for Windows. It acts as a comprehensive setup wizard that bundles the MySQL Server with other valuable tools like MySQL Workbench, connectors for various programming languages, and documentation. This integrated approach simplifies the installation, manages dependencies, and ensures all components are compatible with each other, providing a much smoother experience than installing individual packages manually. According to the DB-Engines Ranking, MySQL remains one of the most popular databases globally, holding a top spot for over a decade (Source: DB-Engines, 2024), making this a vital skill for any developer.
Step-by-Step Guide: Using the MySQL Installer
Step 1: Download the MySQL Installer
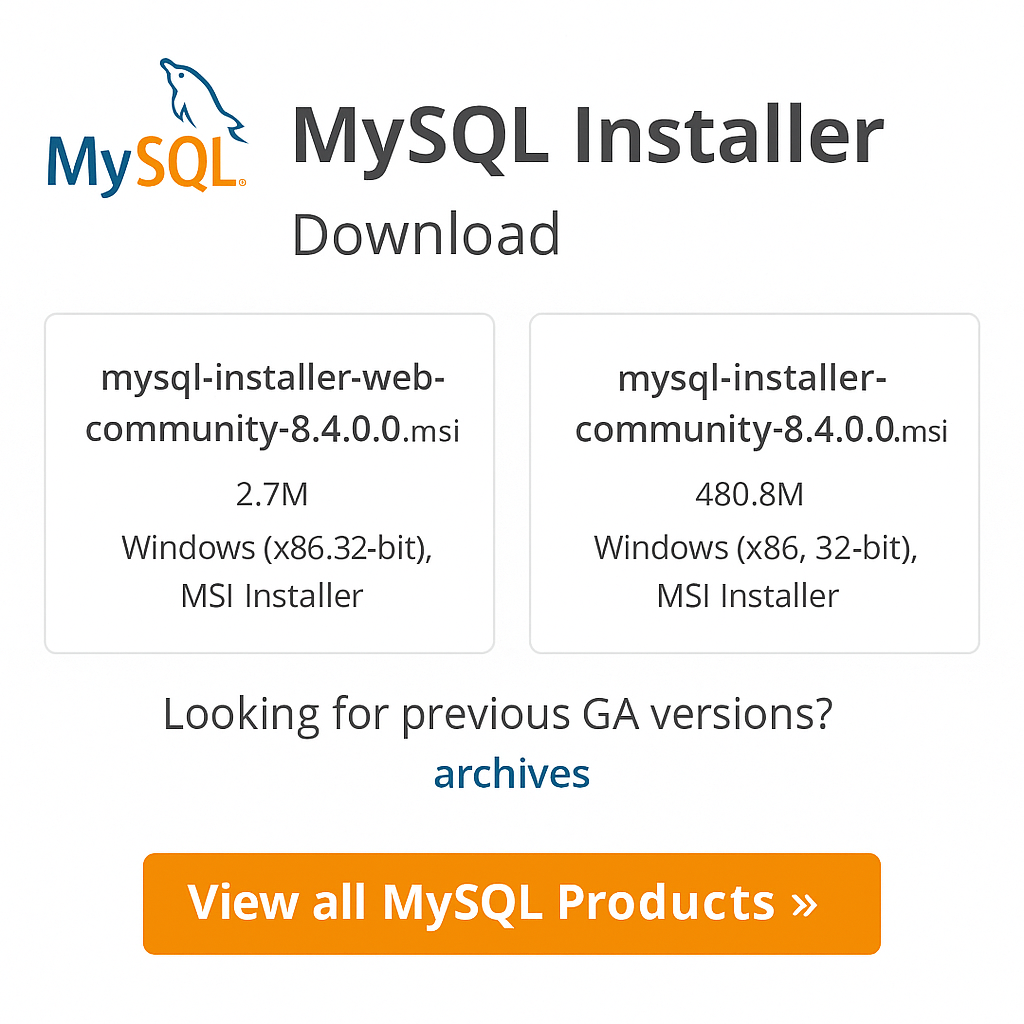
Your first step is to obtain the installer from the source. Navigate to the official MySQL Community Downloads page. You will be presented with two options. The first is a small “web-community” installer, which downloads the selected products from the internet during the setup process. The second is a much larger “full” offline installer that contains all available products. For most users with a stable internet connection, the web installer is the most efficient choice as it minimizes the initial download size. Click the download button for your preferred version. You may be prompted to log in or sign up for an Oracle Web account, but you can simply click the “No thanks, just start my download” link at the bottom to proceed.
Step 2: Choosing a Setup Type
Once you launch the downloaded installer file, the first major decision is to choose a Setup Type. The installer offers several pre-configured options tailored to different needs. The Developer Default type is highly recommended for most developers, as it installs a complete set of tools needed for application development, including the MySQL Server, the visual MySQL Workbench tool, MySQL Shell, and various connectors. Other options include Server only, suitable for production database servers; Client only, for machines that only need to connect to a remote MySQL server; Full, which installs every single available product; and Custom, which gives you complete control to select individual components. For this guide, we will proceed with the recommended Developer Default.

Step 3: Handling Requirements and Installation
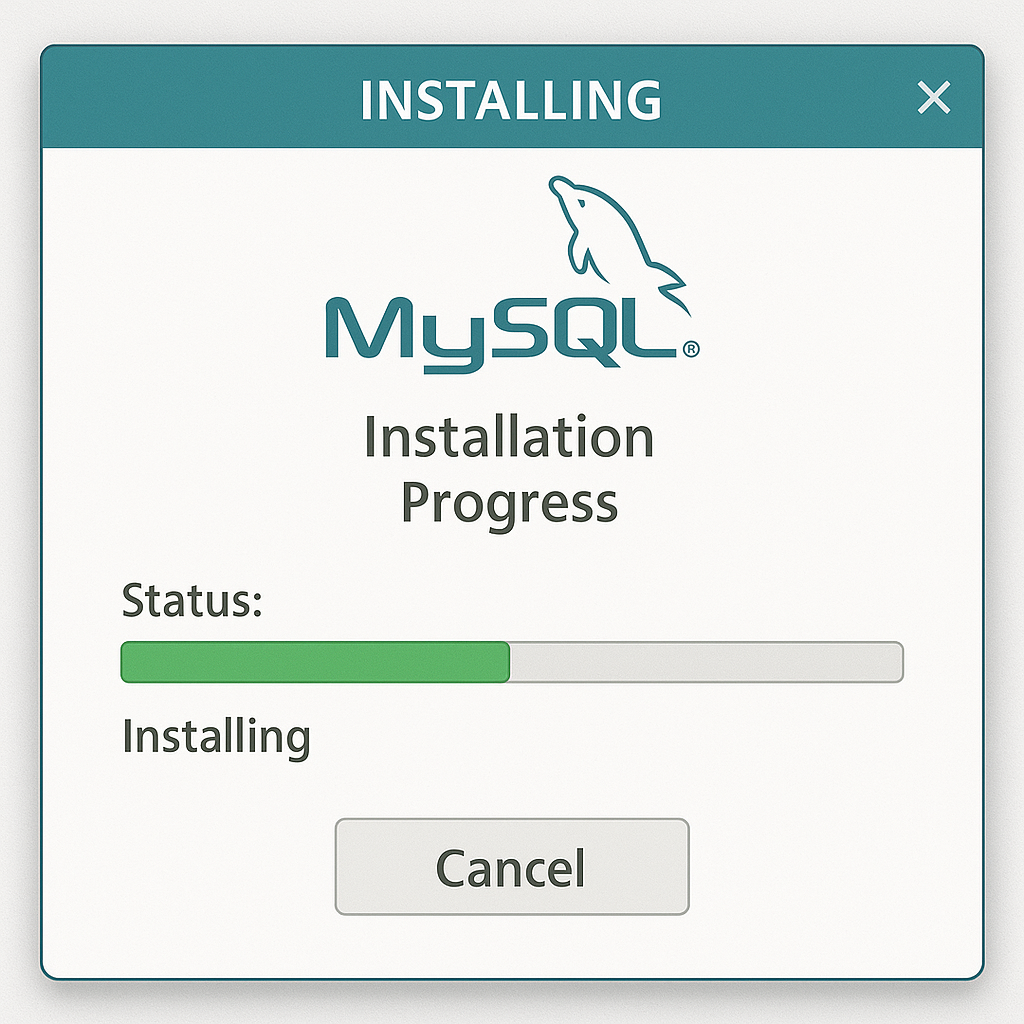
After selecting the setup type, the installer will perform a check for any missing dependencies required by the products you are about to install. A common prerequisite is the Microsoft Visual C++ Redistributable package. If any requirements are missing, the installer will list them. In most cases, you can simply click the “Execute” button, and the installer will automatically download and install these dependencies for you. Once all checks are passed, you will see a list of products ready to be installed. Clicking “Execute” again will begin the main installation process. You can monitor the progress of each component as it is downloaded and installed on your system.
Step 4: Configuring the MySQL Server
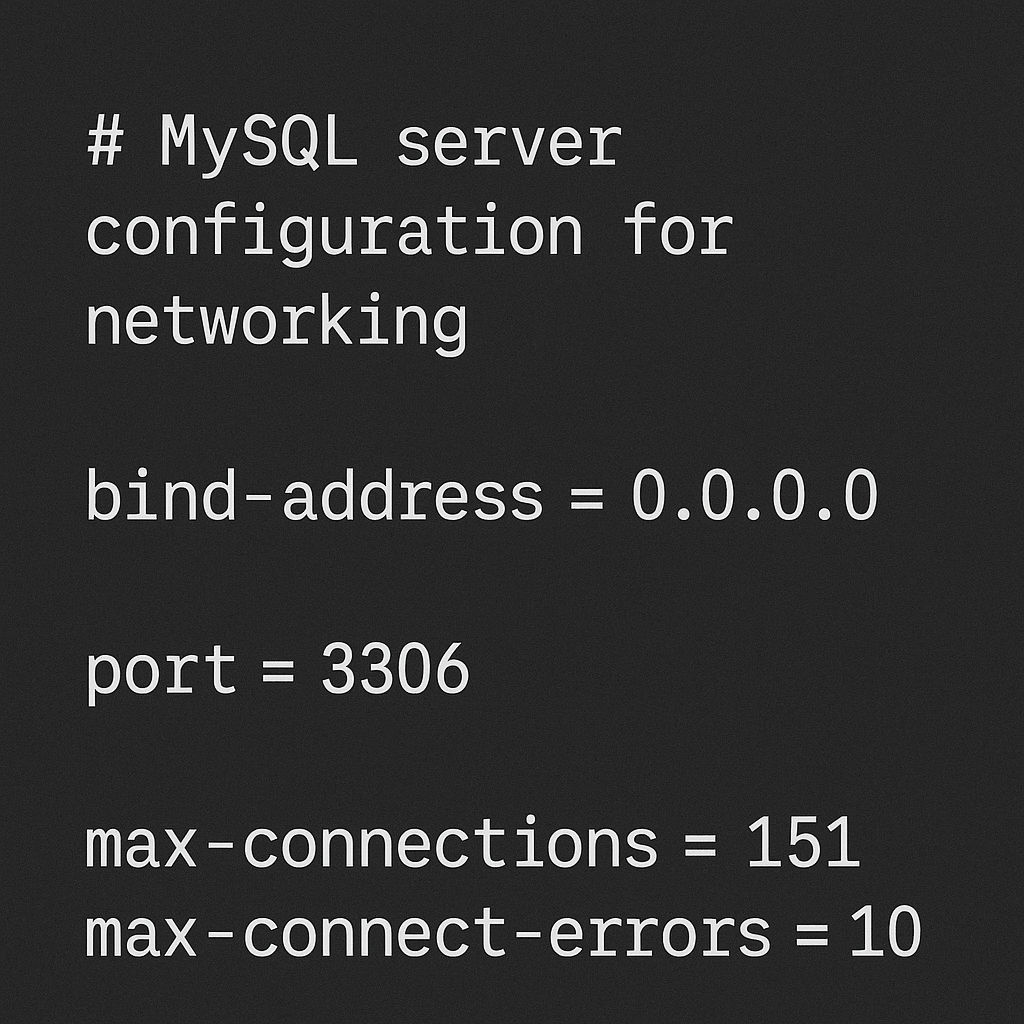
This is the most critical part of the setup. Once the products are installed, the configuration wizard will launch automatically. First, you’ll configure Type and Networking. The default settings, which use standard TCP/IP networking on port 3306, are suitable for the vast majority of local development scenarios. You should only change the port if you know another application is already using it. Next is Authentication Method. It is strongly recommended to use the “Use Strong Password Encryption for Authentication” option, as it leverages a more secure method introduced in MySQL 8. Following this, you must set the password for the root user. This is the superuser account for your database, so choose a strong, secure password and store it somewhere safe. You can also add additional, less-privileged user accounts at this stage, which is a best practice for application security. Finally, you will configure MySQL as a Windows Service, allowing it to start automatically when your computer boots. Keep the default settings here and click “Execute” to apply all your configuration settings.
Verifying Your MySQL Installation
With the server installed and configured, it’s time to verify that everything is working correctly. The easiest way is to use the MySQL Command Line Client, which was installed along with the server. You can find it in your Start Menu. When you open it, you will be prompted to enter the root password you created during the configuration step. After successfully entering the password, you will be greeted by the mysql> prompt. This confirms that you have successfully connected to the running MySQL server. To be absolutely sure, you can run a simple command to see the default databases by typing SHOW DATABASES; and pressing Enter. If you see a list of databases like information_schema, mysql, performance_schema, and sys, your installation is a success. For a more detailed walkthrough of this verification process, check out the video below. From here, you can start learning some Basic MySQL Commands to interact with your new database.
Alternative Installation: Using XAMPP
While the official installer is the best way to get a dedicated MySQL instance, many developers, especially in the PHP world, prefer using an all-in-one package for their local development environment. XAMPP is an extremely popular, free, and open-source cross-platform web server solution stack package. It provides a pre-configured environment containing an Apache web server, MariaDB (a community-developed fork of MySQL that is highly compatible), and the PHP and Perl programming languages. This is an excellent alternative if your goal is to quickly set up a complete server stack for building and testing web applications without configuring each component individually. To learn more about this method, you can follow our guide on How to Install XAMPP on Windows.
| Feature | MySQL Installer | XAMPP |
|---|---|---|
| Primary Component | MySQL Server | Full Stack (Apache, MariaDB, PHP, Perl) |
| Best For | Dedicated database work, non-PHP projects | Local PHP/WordPress development |
| Configuration | Granular, step-by-step wizard | Pre-configured, one-click start/stop |
| Tools Included | MySQL Workbench, Shell, Connectors | phpMyAdmin, FileZilla FTP Server |
Next Steps and Further Learning
Congratulations, you now have a fully functional MySQL server running on your Windows 10 machine. Your journey into the world of relational databases is just beginning. A great next step is to familiarize yourself with MySQL Workbench, the powerful graphical tool that was installed with your server. It provides an intuitive interface for designing database schemas, writing and debugging SQL queries, and performing server administration tasks. From here, you can begin creating your own databases and tables, importing data, and connecting your applications to the server. To dive deeper into the fundamentals of database management and SQL, check out our comprehensive MySQL Database Tutorial. For more advanced users, exploring topics like the Official MySQL 8.0 Reference Manual or guides on MySQL Performance Tuning will help you become a true database expert.
| Common Issue | Solution |
|---|---|
| Cannot connect (Error 2003) | Check if the MySQL service is running in services.msc and verify firewall rules. |
| Access denied for user ‘root’@’localhost’ | You are likely using the wrong password. Reset the root password if necessary. |
| Port 3306 already in use | Another application (like Skype or another database) is using the port. Re-run the installer config to change the port. |
Leave a Reply